Tag: travel

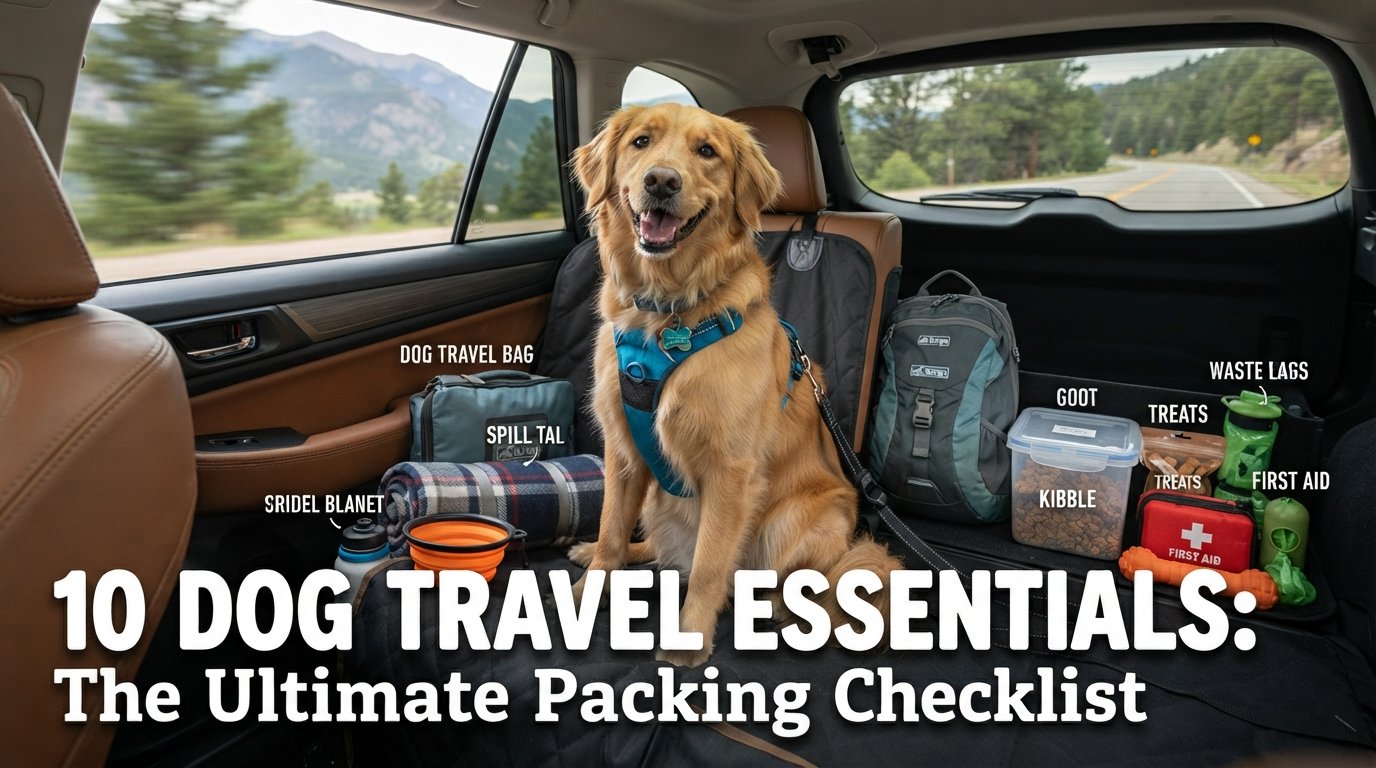
  • 10 Dog Travel Essentials: The Ultimate Packing Checklist

    Traveling with your dog is one of the best parts of being a pet parent. It can also be stressful if you forget something important. A missing leash, a lost tag, or no water on a hot day can turn a fun trip into a scary one.

    This checklist covers 10 dog travel essentials for road trips, flights, and weekend getaways. For each one, you’ll find what to look for, a common mistake to avoid, and a tip to save money. Save it to Pinterest so it’s ready when you start packing.

    Disclosure: As an Amazon Associate I earn from qualifying purchases.

    1. A Secure Collar or Harness With ID Tags
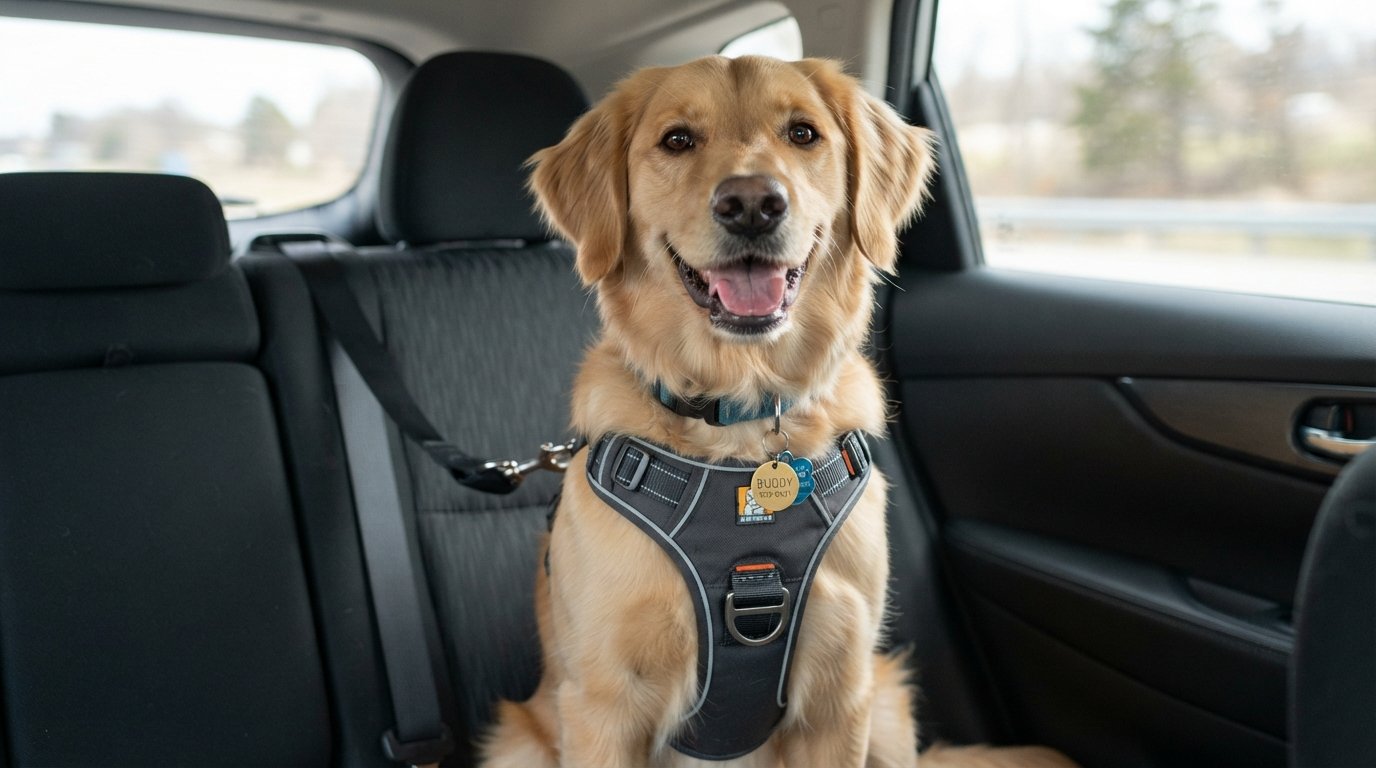
    Travel puts your dog in unfamiliar places with new smells and sounds. Even a calm dog can bolt when startled, so a well-fitted collar or harness with ID tags is your first line of defense.

    What to look for: a snug but comfortable fit, a sturdy buckle, reflective material for night walks, and an ID tag with your current phone number.

    Common mistake: using outdated tags. Update your contact details before you travel, and add a temporary tag with your destination phone number if you’ll be away for a while.

    Budget vs. splurge: a simple, well-fitted harness works for most dogs. Spend more only if your dog pulls hard or escapes easily, and look for escape-resistant designs.

    Packing tip: also make sure your dog’s microchip is registered with up-to-date information. Keep a recent photo of your dog on your phone in case you ever need it.

    ► Check price on Amazon : Harness With ID Tags

    2. A Sturdy Leash (And a Backup)
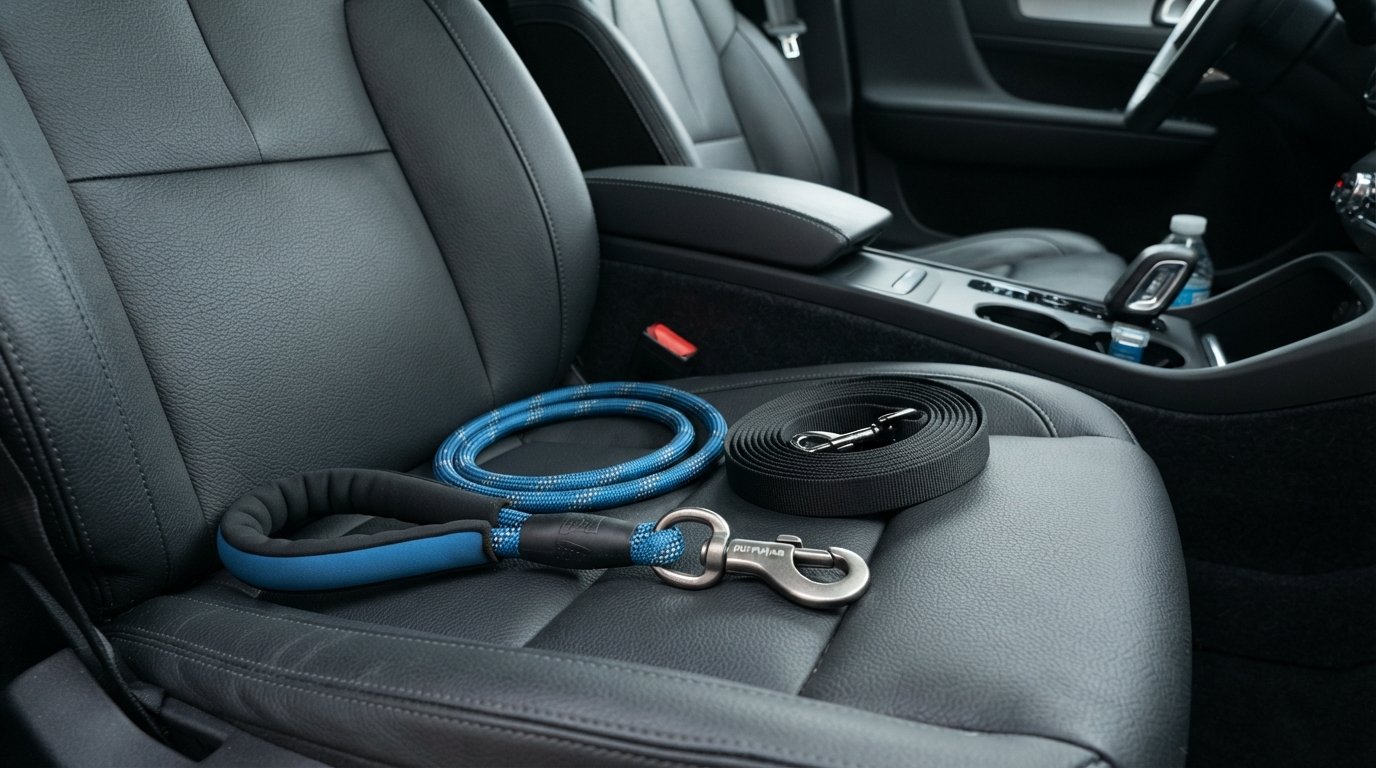
    A reliable leash keeps your dog safe at rest stops, hotels, and busy places. Many places require dogs to be leashed, so never leave this at home.

    What to look for: a strong clip, a comfortable handle, and a length of about 4 to 6 feet for general use.

    Common mistake: relying on a retractable leash in crowded areas. A standard leash gives you better control.

    Budget vs. splurge: a good basic leash is inexpensive. Consider a hands-free or padded-handle leash only if you hike or walk long distances.

    Packing tip: pack a spare leash. If one gets lost, wet, or chewed, you’ll be glad you have another.

    ► Check price on Amazon  Sturdy Leash

    3. Collapsible Bowls and a Travel Water Bottle
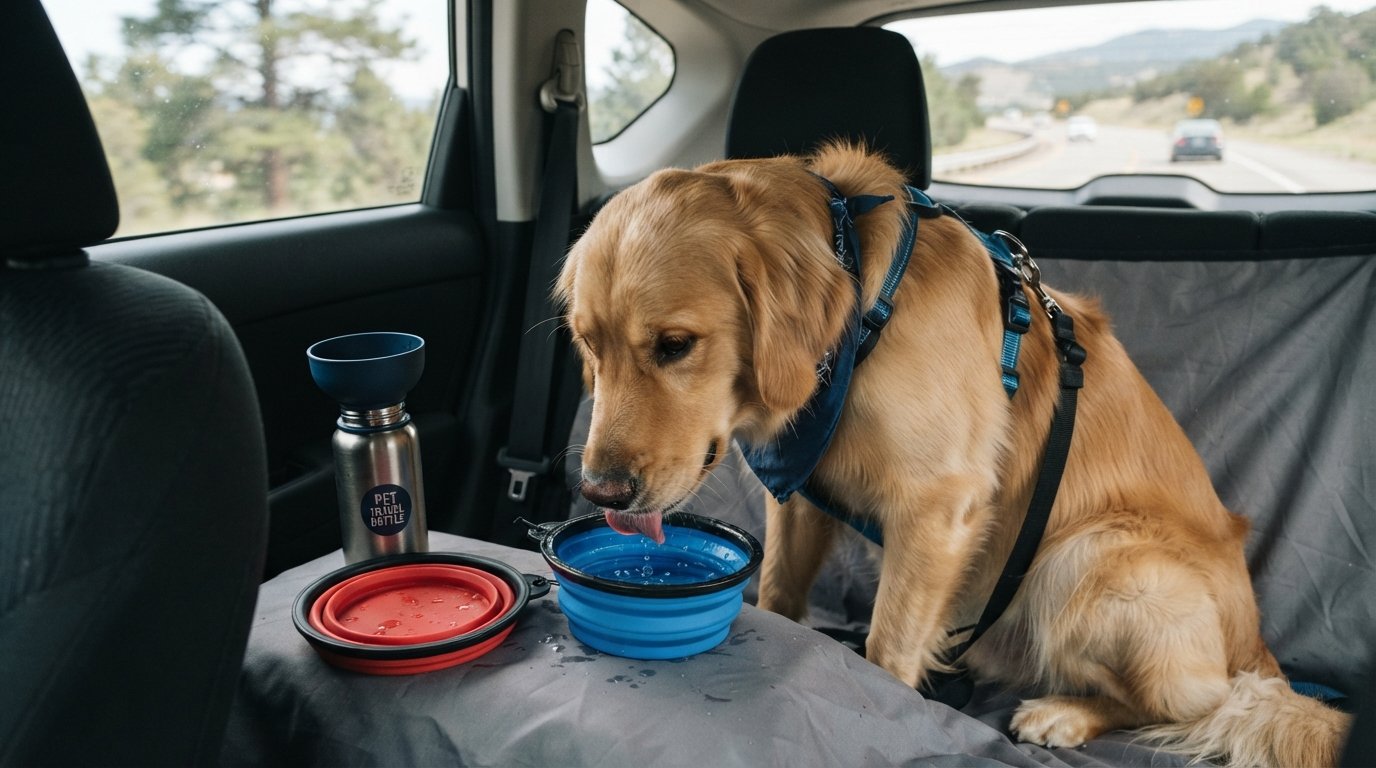
    Dogs need regular water, especially in a moving car or warm weather. Collapsible bowls take almost no space and make it easy to offer water and food anywhere.

    What to look for: lightweight material, a leak-proof design, and a clip so you can attach it to your bag.

    Common mistake: waiting for your dog to look thirsty. Offer water at every stop, even short ones.

    Budget vs. splurge: basic silicone bowls are cheap and work well. A bottle with a built-in bowl is handy for walks and hikes.

    Packing tip: bring water from home if you can. A sudden change in water can upset some dogs’ stomachs.

    ► Check price on Amazon  Collapsible Bowls for Dogs

    4. Food, Treats, and Airtight Storage
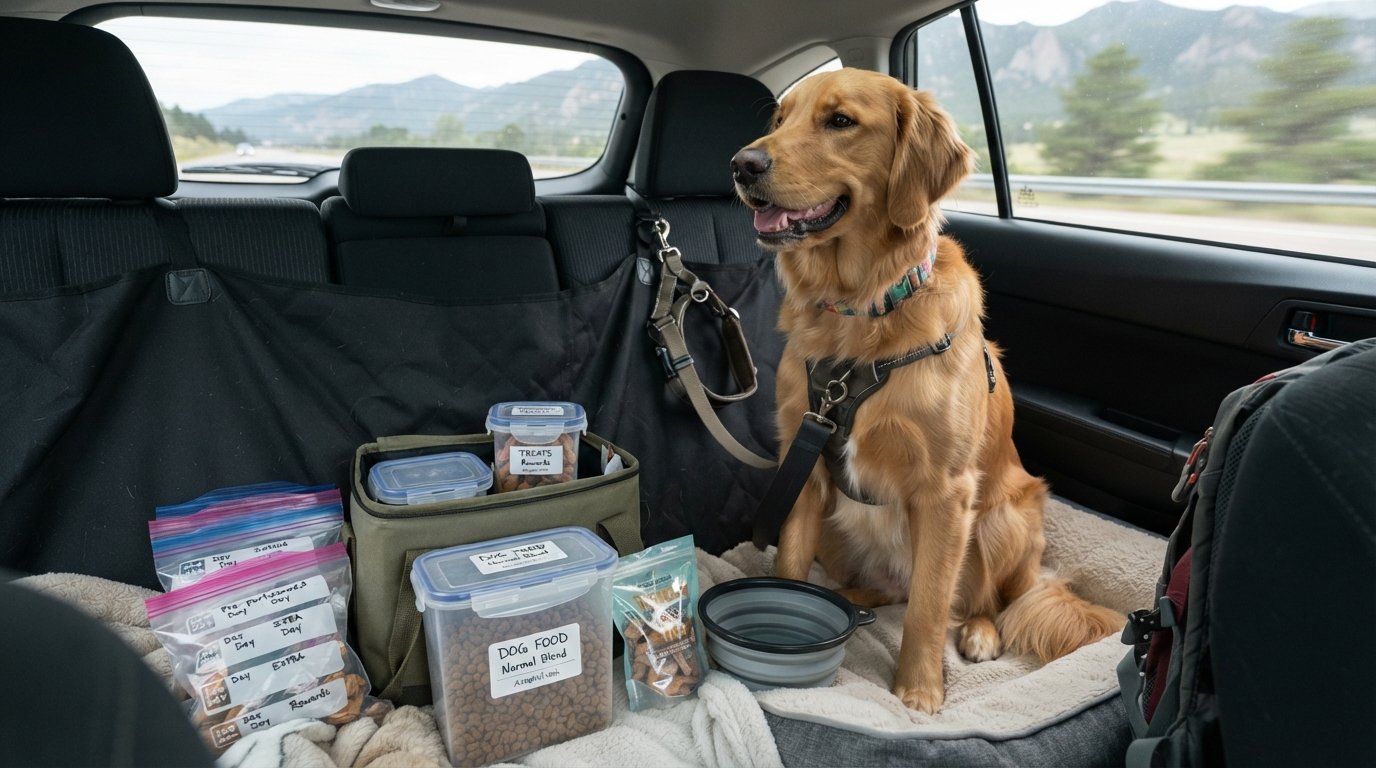
    Stick to your dog’s normal food on the road. New foods and travel stress together can cause an upset stomach, which is the last thing you want in a car.

    What to look for: pre-portioned bags or containers, airtight lids, and enough food for the trip plus a few extra days.

    Common mistake: packing just enough. Delays happen, so bring extra, and avoid trying a new brand mid-trip.

    Budget vs. splurge: reusable containers or zip bags are plenty. You don’t need fancy travel feeders.

    Packing tip: portion each meal into a small bag or container before you leave so feeding time is quick and easy.

    ► Check price on Amazon  Airtight Jar Container

    5. A Car Safety Harness, Seat Belt, or Travel Crate
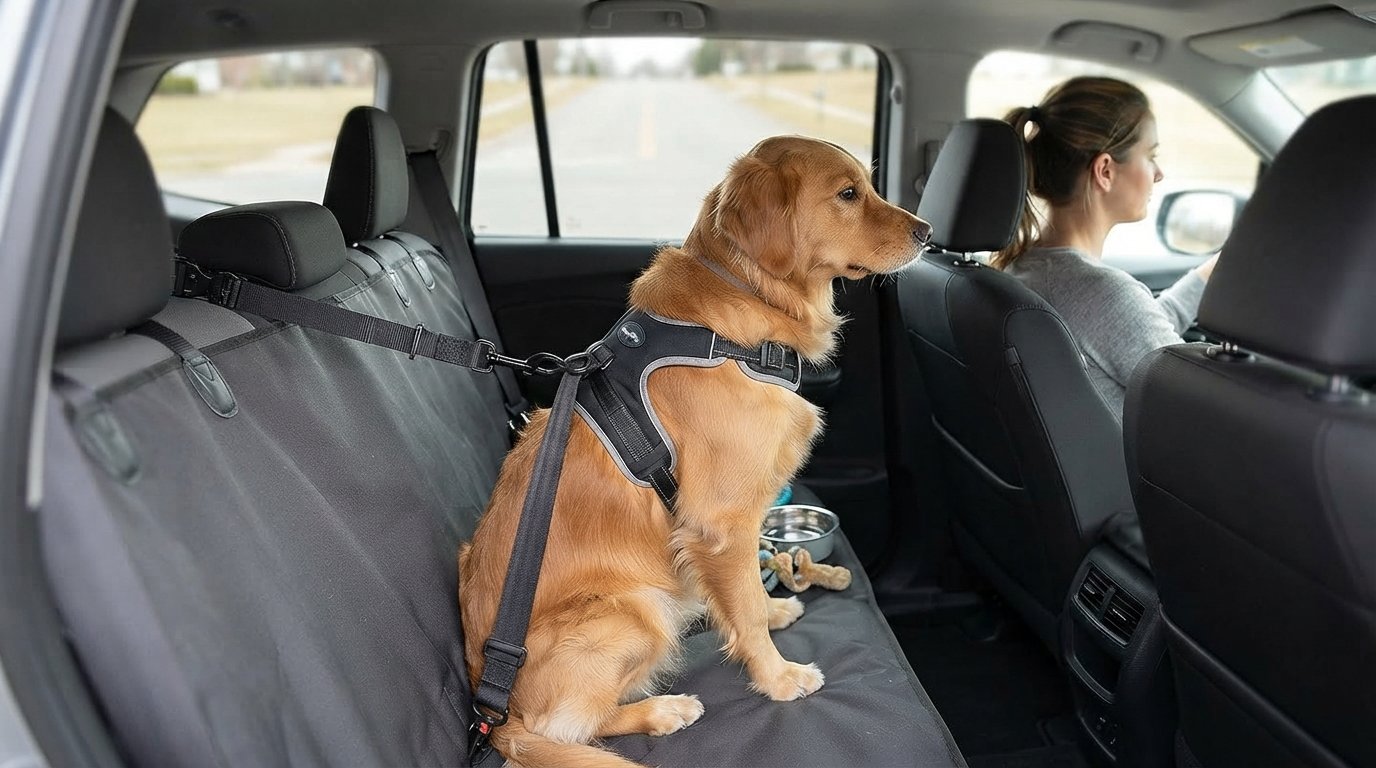
    An unrestrained dog can be hurt in a sudden stop and can also distract the driver. A proper restraint protects both of you.

    What to look for: a harness that attaches to the seat belt system, or a crate that fits your dog and your vehicle. Look for products that are independently crash-tested, since many aren’t.

    Common mistake: letting your dog ride on your lap or roam freely in the car. It feels cozy, but it isn’t safe.

    Budget vs. splurge: crash-tested products often cost more, but this is one item where spending more can matter for safety.

    Packing tip: let your dog get used to the harness or crate with short practice rides before the big trip.

    ► Check price on Amazon  Seatbelt for Dogs

    6. A Familiar Dog Bed or Blanket
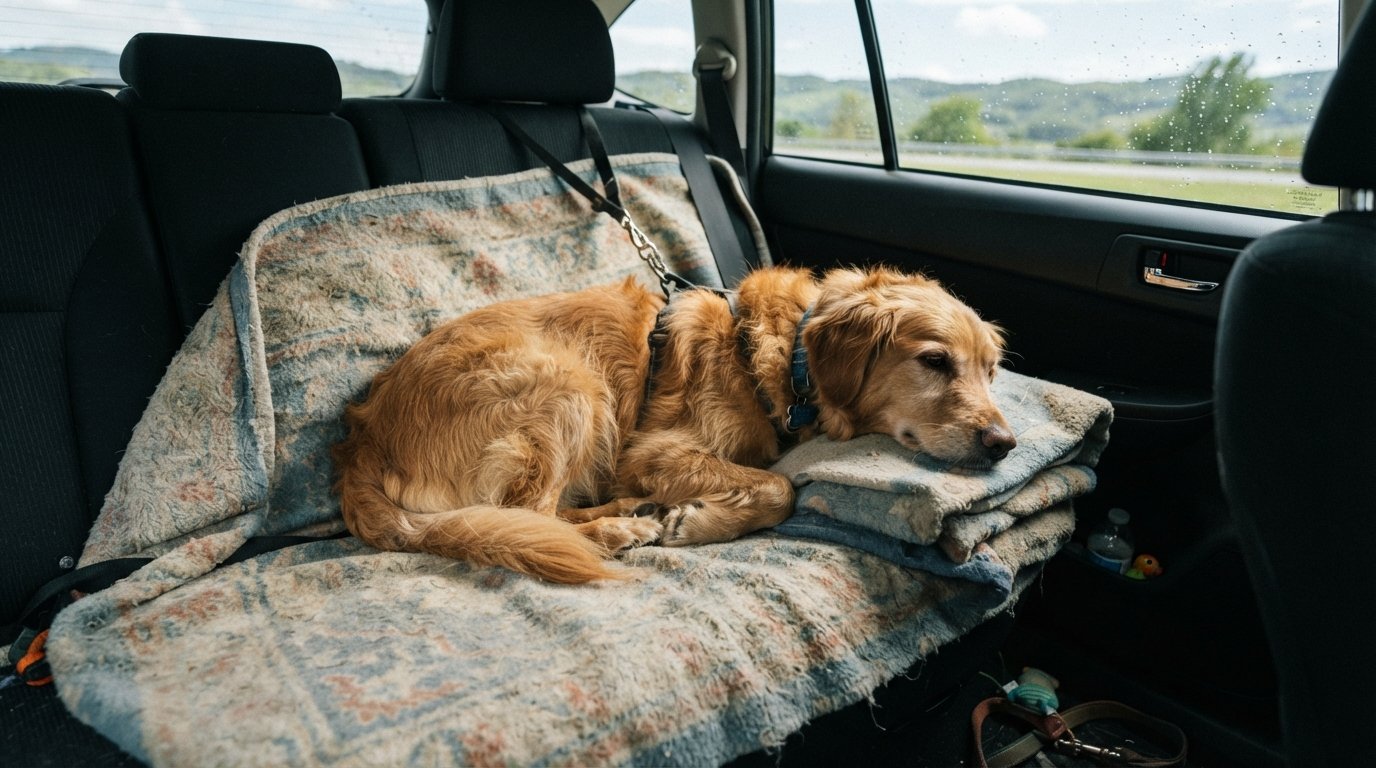
    Strange places can make dogs anxious. A bed or blanket that smells like home gives them a comfortable spot and helps them settle.

    What to look for: a washable cover, a size that fits your dog, and a material that’s easy to pack.

    Common mistake: buying a brand-new bed just for the trip. The familiar smell is what comforts your dog, so use the one they already love.

    Budget vs. splurge: a regular blanket from home works great. A packable travel bed is nice if you travel often.

    Packing tip: bring a towel too, for wet paws, muddy walks, and unexpected spills.

    ► Check price on Amazon  Dog Bed or Blanket

    7. Poop Bags and Cleanup Supplies
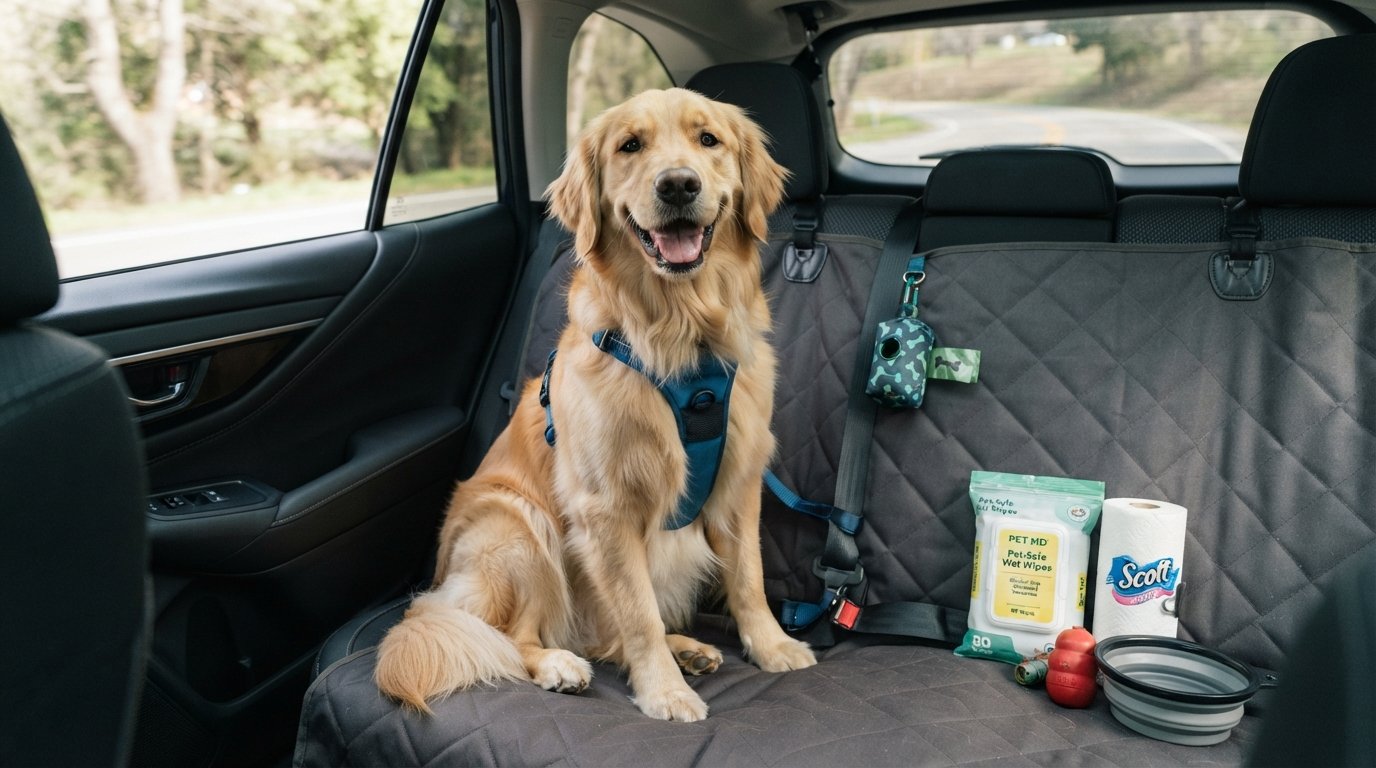
    Picking up after your dog is a must, wherever you go. Also expect the occasional accident or car sickness along the way.

    What to look for: sturdy, leak-proof bags and a holder that clips to your leash.

    Common mistake: bringing only a few bags. You’ll use more than you think, so pack plenty.

    Budget vs. splurge: basic bags are all you need. Add pet-safe wipes and an enzyme cleaner for stains and smells.

    Packing tip: keep a small kit of bags, wipes, paper towels, and a trash bag within easy reach, not at the bottom of the trunk.

    ► Check price on Amazon 

    8. A Pet First Aid Kit
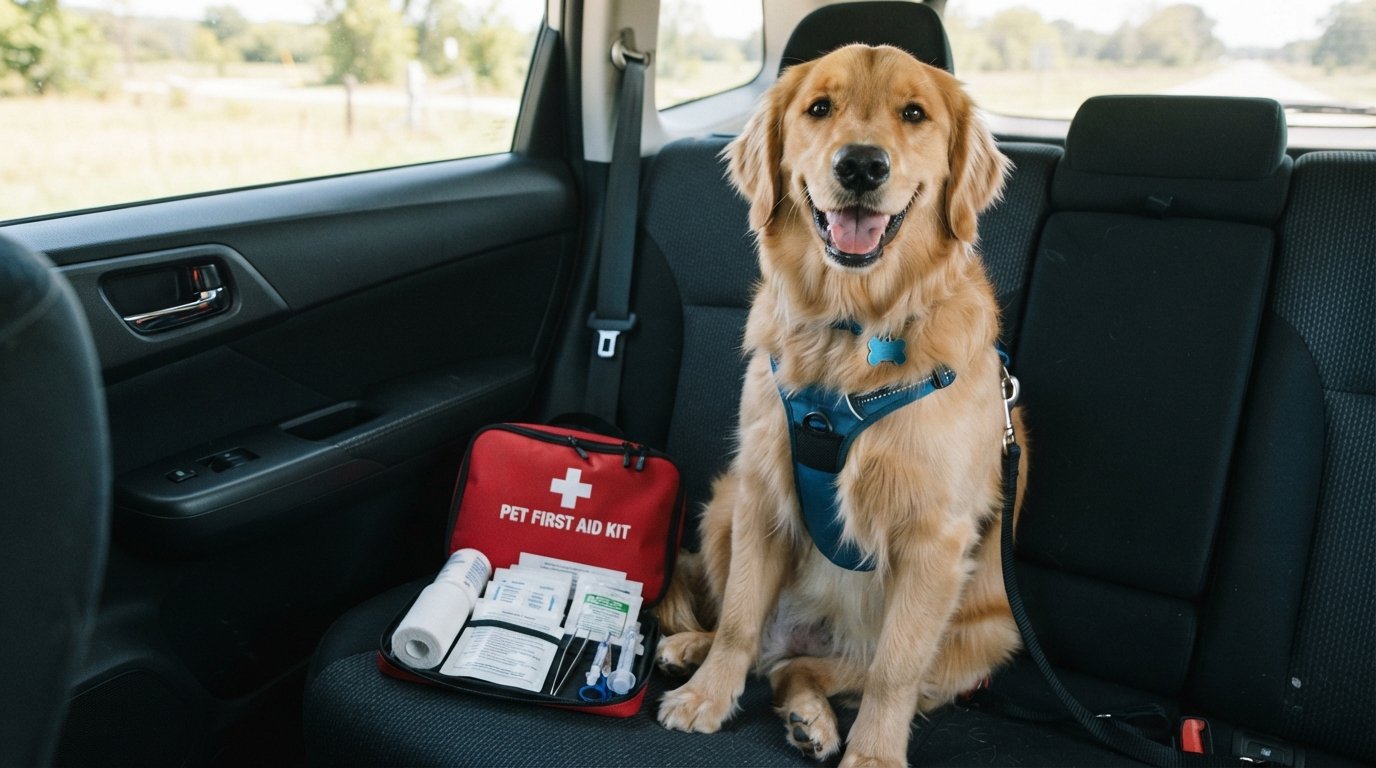
    Minor cuts, sore paws, and upset tummies can happen anywhere. A pet first aid kit helps you handle small problems until you can reach a vet.

    What to look for: bandages, gauze, antiseptic wipes, tweezers, and a basic guide. Ask your vet what else you should add for your dog.

    Common mistake: giving human medicine to your dog. Many common medicines are dangerous to dogs. Always call your vet first.

    Budget vs. splurge: a ready-made kit is a good start. Add your dog’s own medications and any items your vet recommends.

    Packing tip: save the phone number of an emergency vet near your destination before you arrive.

    ► Check price on Amazon  Pet First Aid Kit

    9. Health Records and Documents
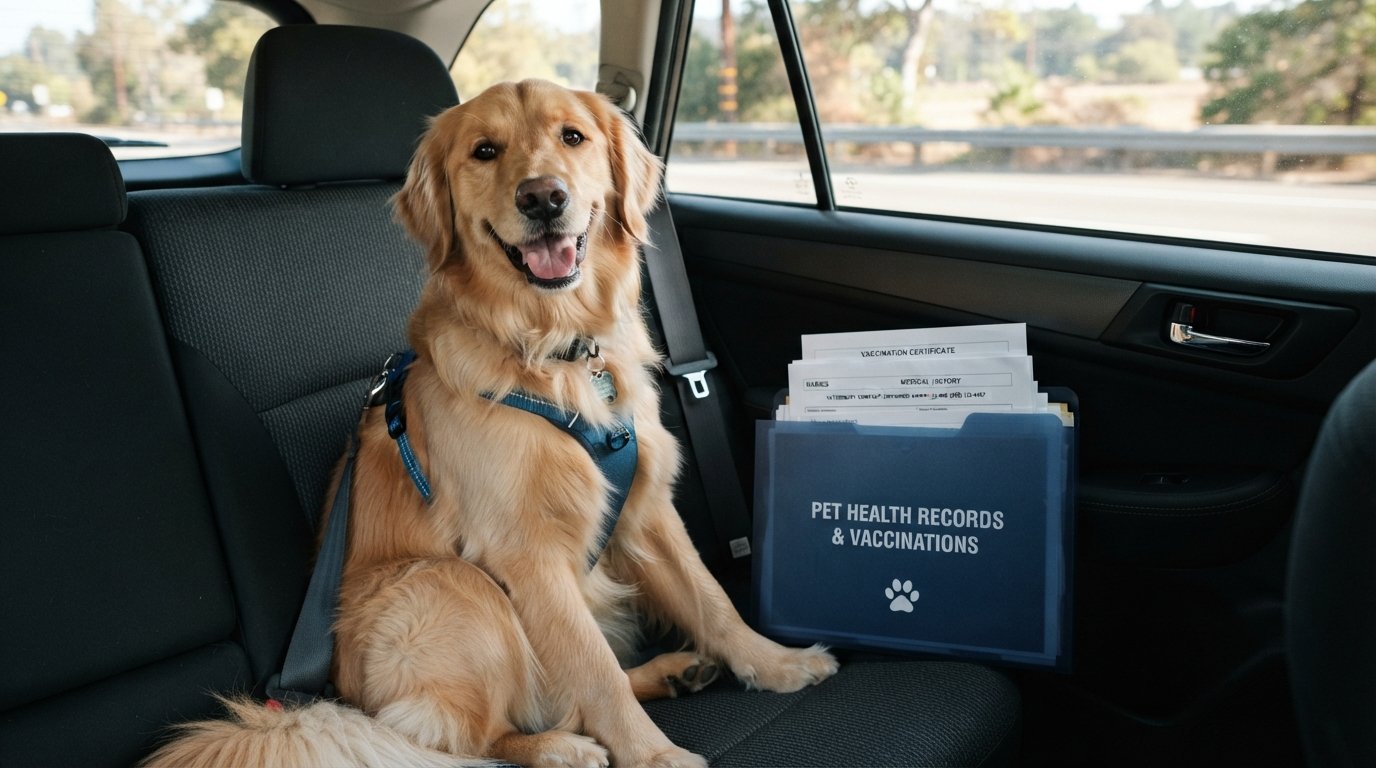
    Hotels, airlines, and some destinations may ask for proof of vaccinations or a health certificate. Having the right paperwork can save you from stress at the worst moment.

    What to look for: a folder with vaccination records, vet contact details, microchip number, and any medications or allergies.

    Common mistake: checking the rules too late. Requirements differ by airline, state, and country, and some need paperwork well in advance. Check early.

    Budget vs. splurge: this one costs almost nothing. A simple folder and a photo of each document on your phone are enough.

    Packing tip: schedule a vet visit before long trips to make sure your dog is healthy and up to date, and ask about anything specific to your trip, like motion sickness.

    ► Check price on Amazon  Health Records and Documents Folder

    10. Toys and Chews to Keep Them Calm
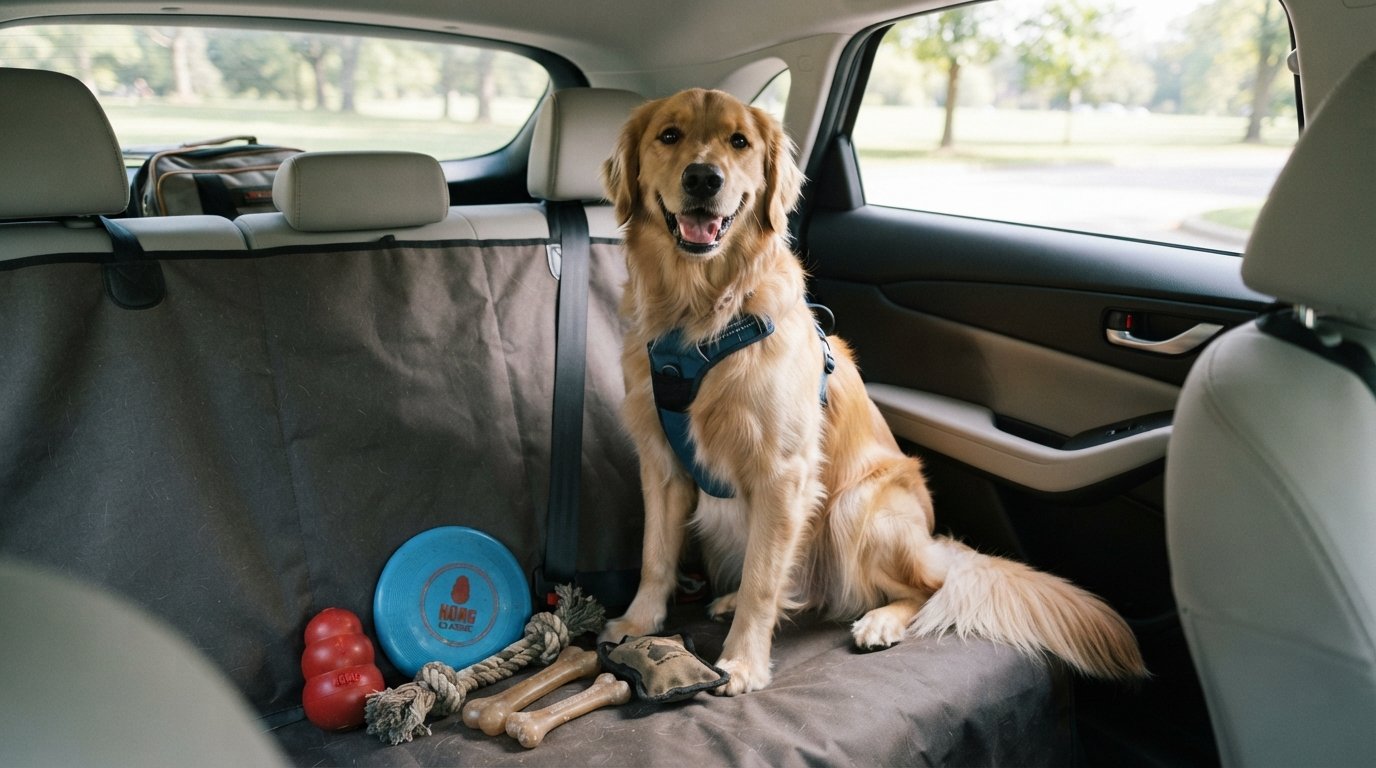
    Long rides and new places can be boring or stressful. A favorite toy or safe chew gives your dog something to do and a sense of comfort.

    What to look for: durable toys your dog already likes, and chews that suit their size and chewing style.

    Common mistake: introducing a new toy or chew for the first time on the road. Test it at home first, and supervise your dog.

    Budget vs. splurge: a familiar toy from home is perfect. Puzzle toys and long-lasting chews are worth it for long trips.

    Packing tip: save a new toy for a mid-trip surprise to keep things fresh.

    ► Check price on Amazon  Toys and Chews for dogs

    Dog Travel FAQ

    What should I pack for my dog on a road trip?

    Pack food, water, bowls, a leash and spare, a harness or crate, a bed or blanket, poop bags, a first aid kit, medications, and health records.

    How often should I stop on a road trip with my dog?

    Plan a break every 2 to 3 hours so your dog can drink, stretch, and go to the bathroom. Some dogs need more frequent stops, especially puppies and seniors.

    Is it safe to leave my dog in the car?

    No. Cars heat up quickly and can become dangerous in minutes, even on mild days. Never leave your dog alone in a parked car.

    Do I need to see the vet before traveling?

    It’s a good idea, especially for long trips, flights, or international travel. Your vet can check your dog’s health, update vaccines, and give advice on anxiety or motion sickness.

    Final Thoughts

    With the right gear and a little planning, traveling with your dog can be one of the best parts of your trip. Start with the safety basics, like ID, a proper restraint, and water, then add comfort items your dog loves. Save this checklist to Pinterest so it’s ready for your next adventure, and share it with a fellow dog parent.
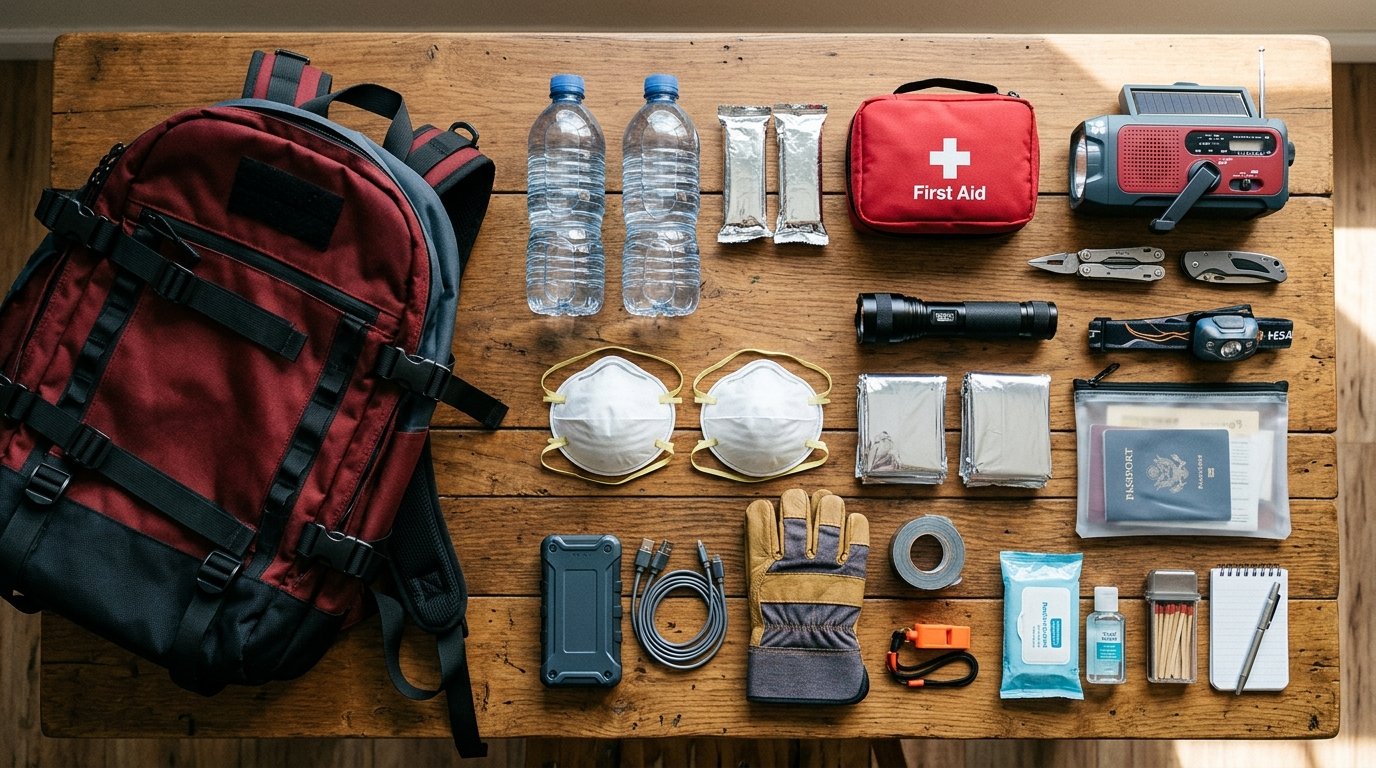
  • What to Pack in a Go Bag: 15 Emergency Essentials for Your Family

    What to Pack in a Go Bag: 15 Emergency Essentials for Your Family

    As an Amazon Associate I earn from qualifying purchases.

    Emergencies can happen with little warning. Severe weather, flooding, earthquakes, and unexpected power outages can disrupt everyday life and sometimes require families to leave home quickly.

    One simple way to prepare is to keep a go bag ready. A go bag is a portable collection of essential supplies that you can take with you if you need to evacuate or spend time away from home unexpectedly.

    You don’t need to buy everything at once or pack every possible item. The goal is to prepare the essentials your household may need, keep them organized, and make sure everyone knows where the bag is stored.

    If you’re building your first emergency kit, here are 15 items to consider.

    1. Drinking Water

    Water is one of the most important supplies in an emergency. Keep commercially sealed drinking water in your go bag or include a practical way to carry it.

    The amount you need depends on your household, the expected duration of the emergency, the weather, and whether additional water will be available. Follow local disaster-preparedness guidance when deciding how much to store.

    Helpful tip: Check expiration or best-before information where applicable, replace stored supplies as recommended, and avoid packing so much water that the bag becomes too heavy to carry safely.

    2. Ready-to-Eat Food

    Pack food that is easy to carry, does not require cooking, and can be eaten safely when normal services are disrupted.

    Examples include sealed crackers, energy bars, dried fruit, and other shelf-stable snacks suitable for your household. Consider food allergies, dietary requirements, and the needs of children or older family members.

    Helpful tip: Check packaging dates and storage instructions regularly. Choose items that can withstand the conditions where your bag will be kept.

    3. A First Aid Kit

    A compact first aid kit can help you manage minor injuries while waiting for assistance. Useful contents may include adhesive bandages, sterile gauze, medical tape, and other basic first aid supplies.

    Choose a kit that suits your household, and learn how to use its contents safely. A first aid kit does not replace professional medical care when it is needed.

    Helpful tip: Check the kit periodically for missing items, damaged packaging, and expired supplies.

    4. Essential Medications and Medical Information

    If anyone in your household takes regular medication, plan how you will keep it available during an emergency. Follow the medication’s storage instructions and arrange an appropriate emergency supply with your healthcare professional or pharmacist.

    You may also want to keep a written list of medications, allergies, emergency contacts, and relevant medical information in a waterproof pouch.

    Helpful tip: Never rely solely on a digital copy of important medical information. Keep a paper backup in case your phone battery runs out.

    5. A Flashlight and Spare Batteries

    Power outages can make it difficult to move around safely, especially at night. A compact flashlight provides practical lighting without relying on your phone.

    Choose a model that is easy to operate, and keep compatible spare batteries if the flashlight requires them. A rechargeable flashlight is another option, provided you can keep it charged.

    Helpful tip: Test your flashlight regularly and store it where you can find it quickly.

    6. A Charged Power Bank and Phone Cables

    A phone can help you receive emergency updates, contact family members, and access important information. A charged power bank and compatible charging cable can be useful when outlets are unavailable.

    Choose a power bank with enough capacity for your needs, and follow its charging and storage instructions.

    Helpful tip: Keep important contact numbers written on paper as well. Mobile networks may become unavailable, and electronic devices can run out of power.

    7. Copies of Important Documents

    Important documents may be difficult to replace if they are lost or damaged during an emergency. Consider keeping copies of identification, insurance information, emergency contacts, and other essential records in a waterproof document pouch.

    Store copies securely and avoid carrying unnecessary original documents. Keep digital backups in a secure location when appropriate.

    Helpful tip: Protect personal information. Your go bag should be stored securely, and sensitive documents should not be left where others can easily access them.

    8. A Change of Clothes

    A spare set of comfortable clothing can be useful if you get wet, dirty, or need to stay away from home longer than expected.

    Consider lightweight shirts, underwear, socks, and weather-appropriate clothing. In areas prone to heavy rain or flooding, a lightweight raincoat can also be useful.

    Helpful tip: Choose clothing that suits your local climate and pack items that are easy to fold and dry. Recheck sizes and replace anything that no longer fits.

    9. A Lightweight Blanket

    A compact blanket can provide warmth and comfort when you need to rest somewhere unfamiliar. Depending on your needs, you might choose a lightweight travel blanket or an emergency thermal blanket.

    Consider how much space the item takes up and whether it is suitable for the conditions you may encounter.

    Helpful tip: Keep the blanket dry inside a protective bag, especially if your go bag may be exposed to rain.

    10. Basic Hygiene Supplies

    Maintaining hygiene can be more difficult when running water or normal facilities are unavailable. A small hygiene pouch can help you stay comfortable and clean.

    Consider including soap, alcohol-based hand sanitizer, tissues, a toothbrush, toothpaste, sanitary products, and other personal essentials appropriate for your household.

    Helpful tip: Pack travel-size products where practical, but make sure you have enough for the expected duration of the emergency. Follow product labels and local public health advice.

    11. A Face Mask and Personal Protective Items

    A suitable face mask may be useful in dusty environments or where local health authorities recommend one. The appropriate type depends on the hazard and the level of protection needed.

    You might also include other personal protective items suited to your circumstances, such as sturdy work gloves.

    Helpful tip: Store protective items clean and dry, and replace them if damaged or no longer suitable for use.

    12. Some Cash in Small Denominations

    Electronic payments and ATMs may be unavailable during power or network disruptions. Keeping some emergency cash in small denominations can help with essential purchases when cash payments are accepted.

    Choose an amount that fits your budget and likely needs. Store it securely in a waterproof pouch.

    Helpful tip: Keep emergency cash separate from your everyday wallet, and review the amount occasionally.

    13. A Battery-Powered or Hand-Crank Radio

    A portable radio can help you receive emergency announcements when mobile data or internet access is unavailable. Choose a model that can receive relevant local broadcasts and is practical for your household.

    Depending on the model, you may need spare batteries or a way to recharge it.

    Helpful tip: Identify reliable local emergency information sources in advance, and test your radio periodically.

    14. A Whistle and Basic Emergency Tools

    A whistle can help attract attention if you need assistance. A small multitool may also be useful for ordinary tasks, provided it is legal to carry and appropriate for your situation.

    You don’t need a large collection of tools in your go bag. Prioritize simple, useful items that you know how to use safely.

    Helpful tip: Keep tools secured and away from children. Follow local rules and emergency guidance when deciding what to carry.

    15. Supplies for Children, Older Adults, and Pets

    A general checklist may not cover everyone’s needs. If you have a baby, an older family member, someone with a disability, or a pet, plan for their specific requirements.

    Depending on your household, additional supplies might include diapers, feeding supplies, assistive-device accessories, hearing-aid batteries, pet food, a leash, or copies of vaccination records.

    Helpful tip: Prepare a separate small pouch for special needs so these items are easy to locate quickly.

    How to Organize Your Go Bag

    Once you’ve gathered your supplies, organize them so the most important items are easy to reach.

    • Use small pouches to group first aid, hygiene supplies, and documents.
    • Keep frequently needed items accessible rather than buried at the bottom.
    • Place important papers in a waterproof pouch.
    • Distribute heavier items carefully and make sure the bag is comfortable to carry.
    • Label compartments if that helps other family members find supplies quickly.

    Choose a sturdy backpack that fits the person who may need to carry it. Avoid making the bag so heavy that it becomes difficult to transport.

    Where Should You Keep Your Go Bag?

    Store your go bag in a secure, accessible location where household members know how to find it quickly. Keep it away from excessive heat, moisture, and other conditions that could damage its contents.

    Make sure everyone knows the household evacuation plan, the location of emergency contacts, and where to meet if family members become separated.

    A go bag is only one part of emergency preparedness. Follow official evacuation instructions, know your local evacuation routes, and prepare for the hazards most relevant to your area.

    How Often Should You Check Your Go Bag?

    Review your supplies periodically and after using any item. Check food and medication dates, replace depleted batteries, recharge power banks, and update important documents and contact information.

    It’s also worth checking whether clothing still fits and whether supplies remain suitable for your household’s needs.

    A simple reminder on your calendar can help you keep everything ready without having to rebuild the bag from scratch.

    Final Thoughts

    Preparing a go bag doesn’t have to be complicated or expensive. Start with essential items such as water, food, first aid supplies, lighting, important documents, and personal necessities. Then adjust the contents to suit your family’s needs and local emergency risks.

    You can build your kit gradually, using supplies you already have where appropriate. What matters most is having a realistic plan, keeping your essentials accessible, and knowing what to do when an emergency occurs.

  • Coffee Bar Essentials: 12 Things to Create Your Own Coffee Station

    Coffee Bar Essentials: 12 Things to Create Your Own Coffee Station

    As an Amazon Associate I earn from qualifying purchases.

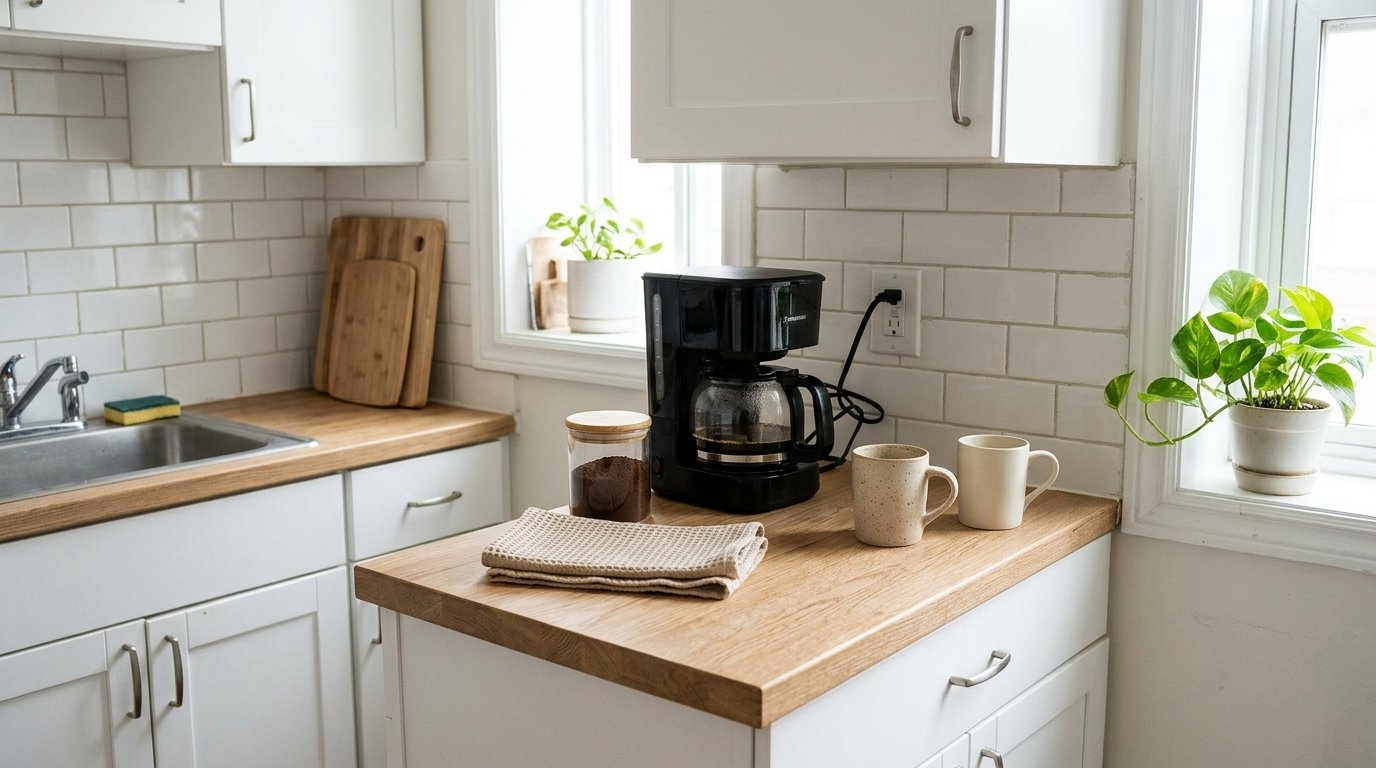
    There’s something comforting about having a little coffee corner at home. Maybe it’s the first cup you make in the morning, a quiet afternoon latte, or the familiar routine of preparing your favorite drink before starting the day.

    Whatever your coffee ritual looks like, a dedicated coffee station can make that everyday moment feel a little more special.

    And no, you don’t need a huge kitchen or a perfectly styled café setup to create one. A small section of your countertop, an unused corner, or even a simple shelf can become a coffee spot that fits your home and your routine.

    If you’re dreaming of creating your own, here are 12 ideas to help you put together a coffee station that feels inviting, organized, and uniquely yours.

    1. Start with a Coffee Maker You Love Using

    Your coffee maker doesn’t have to be fancy. What matters most is finding one that suits the way you actually drink coffee.

    If you enjoy several cups throughout the morning, a drip coffee maker might make sense. If you usually prepare one cup at a time, a single-serve machine can be convenient. And if making espresso or lattes is your favorite part of the day, an espresso machine may be worth considering.

    Think about your usual routine before choosing one. A machine that fits your habits will likely get more use than one that simply looks good on the counter.

    2. Give Your Coffee Beans a Proper Home

    Coffee beans and ground coffee are part of the experience, so it helps to store them properly. An airtight container can keep coffee organized and protect it from excess air and moisture.

    You don’t need a row of matching jars to make your station look beautiful. One practical container, placed away from heat and direct sunlight, can be enough.

    Choose a size that matches how much coffee you normally keep on hand, rather than buying a large container that stays mostly empty.

    3. Display a Few Favorite Mugs

    Mugs can add personality to a coffee station. Maybe you have a favorite oversized mug, a handmade ceramic cup, or a set that matches your kitchen.

    Instead of displaying every mug you own, choose a few you use regularly. A small mug tree, a shelf, or a convenient cabinet can keep them accessible without making the space feel crowded.

    The best display is one that looks nice and still makes your morning routine easier.

    4. Use a Tray to Bring Everything Together

    A simple tray can make a coffee corner feel more intentional. Place your everyday essentials on it, such as sugar, a spoon holder, or a small jar of coffee accessories.

    It also creates a natural boundary for smaller items, which can help prevent them from spreading across the entire countertop.

    Wood adds warmth, while white or neutral trays can create a cleaner, more minimal look. Use whatever complements the items you already have at home.

    5. Make Room for Your Favorite Coffee Pods

    If you use a single-serve coffee machine, you’ve probably noticed how quickly coffee pods can accumulate in a drawer or box.

    A small holder can make your options easier to see and keep the counter more organized. Drawer-style holders work well for some setups, while vertical holders may suit narrower spaces.

    Before choosing one, check that it fits your specific pod type. You can also keep the original packaging in a cabinet if you’d rather not add another accessory to your counter.

    6. Create Your Own Little Latte Corner

    If you enjoy making lattes or cappuccinos, you might like having a small area dedicated to milk and coffee preparation.

    Keep the tools you actually use together, whether that’s a milk frother, a small pitcher, or your favorite latte glass. Leave enough room to prepare your drink comfortably and clean the equipment afterward.

    You don’t need professional barista equipment to enjoy a homemade latte. Start with your current routine and add tools only if they would make it easier or more enjoyable.

    7. Keep Syrups Within Easy Reach

    Vanilla, caramel, and other coffee syrups can be fun additions if you enjoy flavored drinks. Keeping the bottles together makes it easier to find your favorite flavor without searching through kitchen cabinets.

    If you have several bottles, a small riser or organizer can help you see them more clearly. But if you only use one or two syrups, a simple spot on the counter may be all you need.

    The idea is to organize the things you enjoy—not create extra clutter just to make the coffee bar look complete.

    8. Make Use of a Small Rolling Cart

    A rolling cart can be helpful when your kitchen doesn’t have much free counter space. It gives you a separate place for coffee equipment and supplies without requiring a permanent installation.

    You could keep the coffee maker on top and use the lower shelves for mugs, napkins, filters, and backup supplies.

    Before setting one up, check the cart’s stability and weight capacity. Make sure the coffee machine can be used safely near a suitable outlet, and keep cords away from walkways.

    9. Give Your Coffee Station Some Vertical Space

    If your countertop is small, look upward. A shelf or secure wall-mounted mug rack can provide extra storage without taking up more working space.

    Use shelves for lightweight items you can comfortably reach, such as mugs and coffee containers. Leave enough clearance above the coffee maker and follow the installation instructions for the wall and mounting hardware.

    Even one well-placed shelf can make a small coffee corner feel more organized.

    10. Let Your Coffee Bar Reflect Your Style

    Your coffee station doesn’t have to look like anyone else’s. If you love a modern look, try clean lines and a few neutral accessories. If you prefer something warmer, wood tones and handmade mugs may suit you better.

    You can also add a small framed print, a favorite piece of pottery, or a plant if the location has suitable light.

    Start with the style of your existing kitchen so the coffee corner feels like part of your home rather than a separate display.

    11. Keep the Little Things Organized

    Coffee filters, teaspoons, stirrers, napkins, and sweetener packets are easy to overlook when planning a coffee station. But these small items can quickly make the countertop feel messy.

    A small drawer organizer or a few reusable containers can help keep them together. You might also store less frequently used supplies in a nearby cabinet and leave only everyday essentials within reach.

    You don’t need a special organizer for everything. Reusing containers you already own can work just as well.

    12. Make Your Coffee Station Work for Your Space

    Perhaps the most important part of creating a coffee bar is making sure it works for your home.

    A spacious kitchen might have room for an espresso machine, grinder, and several accessories. A small apartment may need only a compact coffee maker and two mugs on a narrow shelf.

    Neither setup is better than the other. The right coffee station is one that fits your space, your budget, and the way you enjoy coffee.

    Start with what you have, make small adjustments as needed, and let the setup evolve over time.

    Final Thoughts

    A home coffee station doesn’t need to be elaborate to feel special. Sometimes, a coffee maker, a favorite mug, and a tidy place for your supplies are all you need.

    Take a look at your current coffee routine and think about what would make it more convenient. Maybe you need a better place for your mugs, a way to organize coffee pods, or simply a little more room on the counter.

    Start there. Add only what makes sense for your home, and enjoy creating a coffee corner that feels like yours.

    Frequently Asked Questions

    What do I need for a basic coffee station?

    Start with your preferred coffee-making method, a few mugs, and a convenient place for your coffee and supplies. Everything else is optional.

    Can I create a coffee bar in a small kitchen?

    Absolutely. A countertop corner, narrow shelf, or compact cart can work well. Measure your available space before choosing equipment.

    How can I make my coffee bar look nice without spending much?

    Use items you already own, group small accessories together, and keep the surface uncluttered. A favorite mug or simple tray can be enough to bring the setup together.

    Do I need special coffee bar accessories?

    Not necessarily. Accessories are useful when they solve a problem or make your routine more convenient. You can always add them later.

  • 11 Camping Essentials for Beginners: What You Actually Need

    11 Camping Essentials for Beginners: What You Actually Need

    As an Amazon Associate I earn from qualifying purchases.

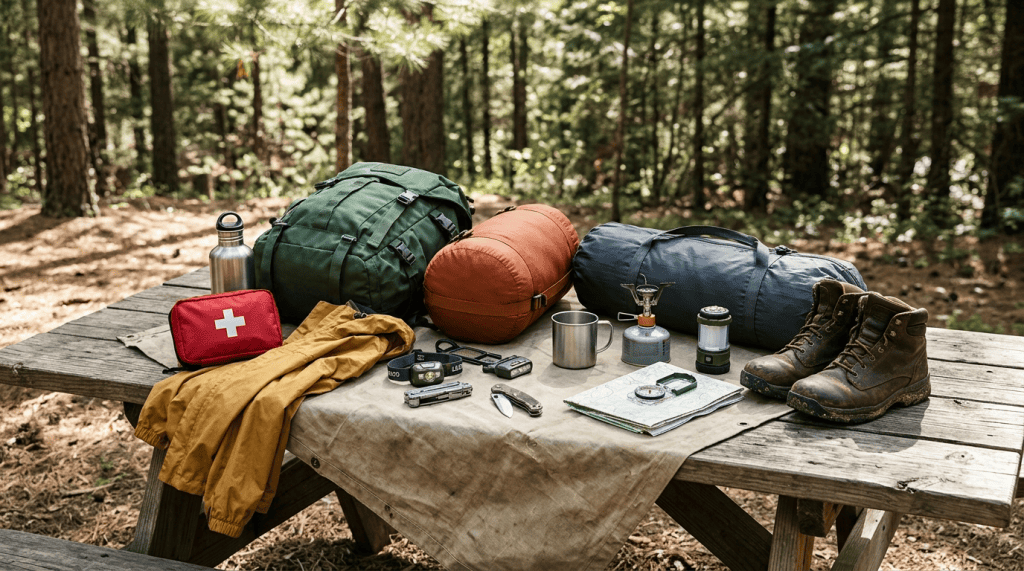
    Planning your first camping trip? Having the right gear can make your outdoor adventure more comfortable, organized, and enjoyable. But with so many camping products available, figuring out what to pack can feel overwhelming.

    The good news is that you don’t need to buy every camping gadget on the market. Start with the essentials that help you sleep comfortably, prepare for changing weather, stay hydrated, and handle unexpected situations.

    Whether you’re planning a weekend getaway with friends or a family camping trip, here are 11 camping essentials worth considering before you head outdoors.

    1. A Reliable Camping Tent

    Your tent provides shelter from the elements and a comfortable place to rest. Choose one based on the number of campers, the expected weather, and the conditions at your campsite.

    Look for a tent with adequate sleeping space, weather-appropriate construction, and a design that’s manageable for your experience level. Practice setting it up at home before your trip.

    Shopping tip: Check the tent’s capacity, packed size, setup instructions, and weather limitations before purchasing.

    2. A Sleeping Bag for the Weather

    A sleeping bag helps you stay comfortable during chilly nights outdoors. The best option depends on the lowest temperatures you expect during your trip.

    Check the manufacturer’s temperature ratings and consider whether you’ll be camping in warm summer weather or cooler conditions. A sleeping bag that’s suitable for one season may not be comfortable in another.

    Shopping tip: Compare temperature ratings, packed weight, and ease of cleaning.

    3. A Comfortable Sleeping Pad

    Even a good sleeping bag may not be enough for a comfortable night’s rest. A sleeping pad adds cushioning between you and the ground and can provide important insulation.

    Options include inflatable pads, self-inflating pads, and foam sleeping mats. Consider how much comfort you want, how much space you have in your backpack, and how easy the pad is to set up.

    Shopping tip: Look at thickness, packed size, durability, and insulation ratings.

    4. A Rechargeable Camping Lantern

    Good lighting makes it easier to prepare meals, organize your gear, and move around your campsite after sunset.

    A rechargeable camping lantern can illuminate a tent or picnic table without requiring disposable batteries for every use. Some models also offer adjustable brightness or multiple lighting modes.

    Shopping tip: Compare runtime at different brightness levels, charging options, and weather-resistance ratings.

    5. A Headlamp or Flashlight

    A lantern is useful for lighting an area, but a headlamp or flashlight is better when you need focused light while walking or completing tasks.

    A headlamp keeps your hands free, which can be particularly helpful when setting up a tent or preparing equipment in the dark.

    Shopping tip: Consider battery life, comfort, brightness settings, and whether the device is suitable for the conditions you’ll encounter.

    6. Portable Cooking Equipment

    If your campsite permits cooking, a suitable camping stove or other approved cooking equipment can make meal preparation easier.

    Choose equipment based on the meals you plan to prepare and the facilities available at your destination. Remember that some campsites restrict open flames or particular fuel types.

    Shopping tip: Check fuel compatibility, cooking capacity, packed size, and the manufacturer’s safety instructions.

    Always operate camping stoves outdoors in a well-ventilated area, away from tents and other combustible materials. Never use outdoor cooking equipment inside a tent.

    7. Drinking Water and a Reusable Water Bottle

    Staying hydrated is essential during outdoor activities. Bring enough drinking water for your trip, taking into account the weather, physical activity, and availability of safe water sources.

    For longer trips, you may also need an appropriate water treatment method, such as a filter or purification product suitable for the water source.

    Shopping tip: Choose a bottle that’s easy to carry, clean, and refill. Confirm that any water treatment method is effective for the contaminants you may encounter.

    8. A Well-Stocked First-Aid Kit

    Minor cuts, blisters, and scrapes can happen during outdoor adventures. A first-aid kit helps you prepare for common minor injuries.

    Look for a kit containing appropriate basic supplies and check its contents before every trip. Add any personal necessities you may need, and learn how to use the items correctly.

    Shopping tip: Consider the length of your trip, group size, activities, and how far you’ll be from medical assistance.

    A first-aid kit is a precaution, not a substitute for emergency services or appropriate medical care.

    9. Insect Repellent

    Mosquitoes and other biting insects can make a camping trip uncomfortable. Depending on your destination, insect repellent may be a useful part of your packing list.

    Choose a product appropriate for your age group, destination, and expected insect exposure. Follow the label directions, including application and reapplication instructions.

    Shopping tip: Check the active ingredient, usage directions, and any age-related precautions.

    10. Weather-Appropriate Clothing and Rain Protection

    Weather can change quickly outdoors, so it’s helpful to pack clothing that suits the forecast and the conditions you may encounter.

    Layering makes it easier to adjust to temperature changes. A rain jacket or other suitable rain protection can also help you stay more comfortable if the weather turns wet.

    Shopping tip: Prioritize practical layers, comfortable footwear, and rain protection suited to your destination rather than packing unnecessary extras.

    11. A Backpack or Gear Storage Bag

    Keeping your essentials organized makes packing and unpacking easier. A suitable backpack is useful for carrying gear on the trail, while a separate storage bag can help organize equipment at a drive-in campsite.

    Choose a size that fits your actual gear and is comfortable to carry. Avoid overpacking simply because you have extra space.

    Shopping tip: Compare capacity, carrying comfort, compartments, water resistance, and durability.

    Bonus Tips for Planning Your First Camping Trip

    Before leaving home, check the campsite’s rules, local weather forecast, available facilities, and any reservation requirements.

    It’s also a good idea to:

    • Make a packing checklist and check off each item as you pack.
    • Test your tent, lantern, and other essential equipment before departure.
    • Tell someone your itinerary if you’re camping somewhere remote.
    • Bring a way to communicate and follow local emergency guidance.
    • Store food securely according to campsite rules and local wildlife guidance.
    • Pack out your rubbish and follow Leave No Trace principles.

    Final Thoughts

    You don’t need an elaborate collection of equipment to get started with camping. Focus on reliable shelter, comfortable sleep, lighting, safe food and water arrangements, weather protection, and basic emergency preparedness.

    As you gain experience, you’ll learn which items make the biggest difference for your particular style of camping. Start with the essentials, plan for your destination, and choose gear that fits your actual needs.

    Ready to prepare for your next outdoor adventure? Use this list as a starting point, compare products carefully, and build a camping setup that works for you.